
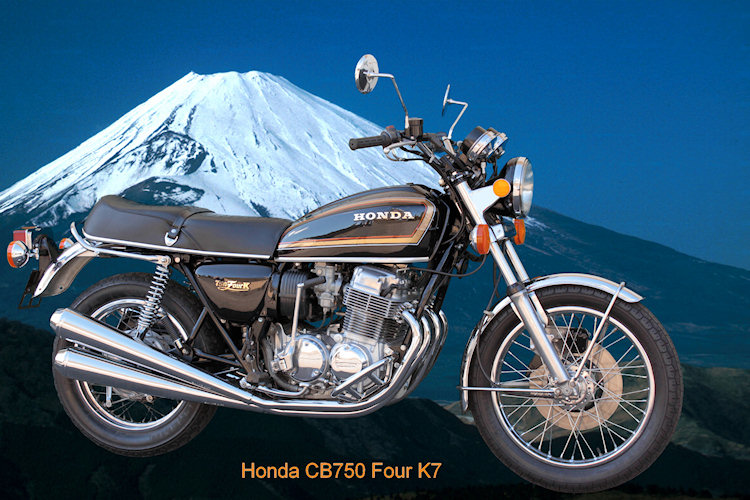
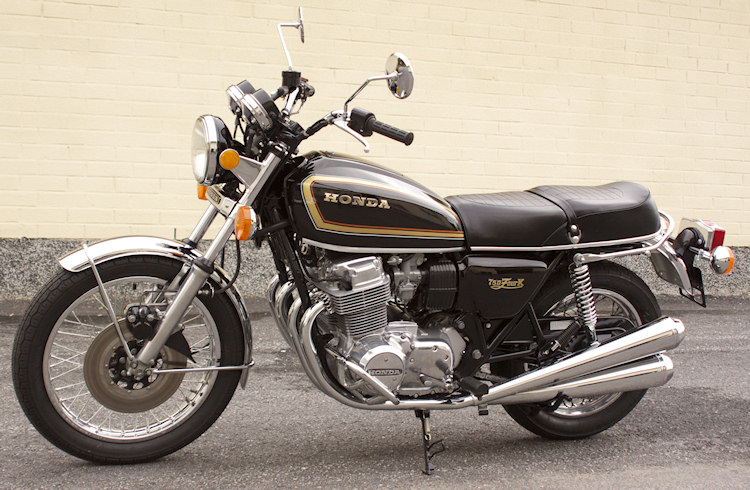
CB750 K7 (June 1976-May 1977) Frame from CB750K-2700 002 Engine from CB750E-2700 001 Numbers built: CB750 K7 38.000 |
Engine |
| It says in the manual that lift the engine off from the right side of the frame, Yes, it took like half an hour and three men to some how get it out and I already see nightmares about putting it back. I got a good tip, attach the oilpan after the engine is in place, You get almost an extra inch of free space, should be a lot easier. There is not a single bolt that hasn't been raped by the previous owner, did I get something in my eye ? All bolts had to be replaced, we managed to break three bolts and it was almost half a days job to take them out. |
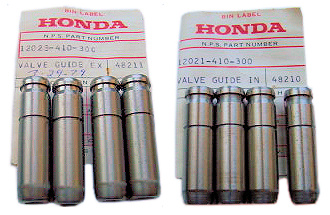
| The engine ran guite well, headgasket had a small leak on the left side so it had to be changed, I ordered the complete gasket set , it comes much cheaper that way and the quality is very good. CB750 engines tends to have this rattling sound when they are on idle but this one was a little bit too noisy, meaning that primary chain/ tensioner or camchain/ tensioner had to be changed or both, of course both. One of those jobs that I'm looking over someones sholder while he is doing it. CMSNL site is the only site I found very important info about the framenumbers for example there are two different sets of valveguides to K7 depending on the frame number, in this case upto serial: 2719 529 and from serial: 2719 530 and so on. My bike is CB750K-2723 669. You can identify Your bike at HondaChoppers exellent site. I took the cylinderhead and valves, quides and rubbers to a engine repair shop and the owner told me that only the exhaust valvequides should be replaced and after two weeks it was ready. |
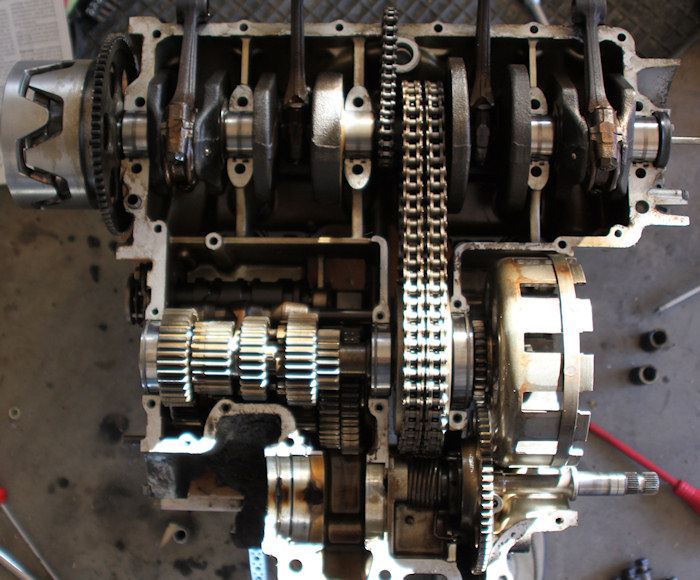
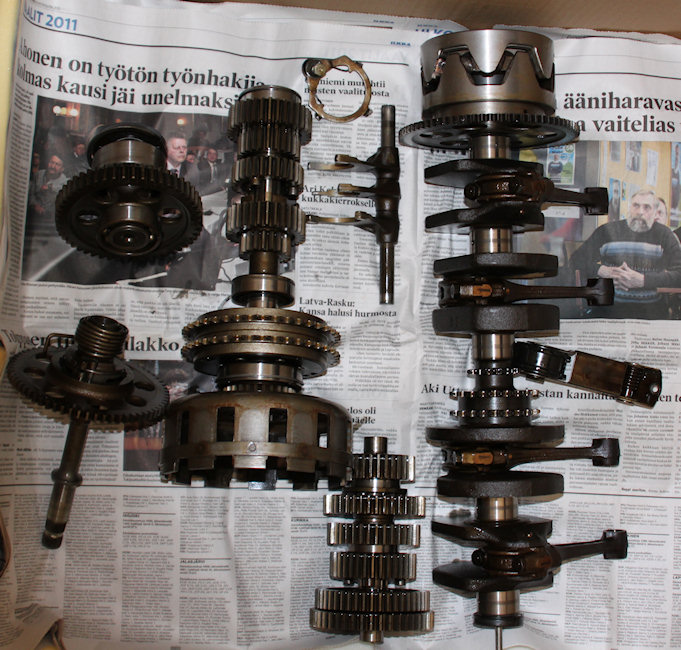
| Here it starts that vicious circle: If You are changing the headgasket You have to take camshaft and cylinderhead off and when they are off why not change the valves, valveguides and rubbers as well and the camchain/ tensioners, rubbers etc. Dismantling the engine was quite simple except those few crankcase bolts and this holder at end of the counter shaft. When we got it open I was suprised how simple it really is . Pistons and cylinders are in good condition and after measuring we found out that they are standard pistons and within acceptable limits both pistons and rings. After sodablasting and washing the crankcase we changed all oilseals, one transmission ballbearing, then just put the upper crankcase part face down on the floor and everything back in place, then the lower part and that's it, I renewed all the bolts and screws. Also the oilpump was in good condition except the oil leak valve that keeps the oiltank full was renewed. |
| I found a good and simple instructions to adjust the valves. |
| There was something wrong with the clutch also, when You put the first gear on , instead of that nice Japanese "click" You got that Harley Davidson "clank", adjusting the clutchcable only made it worse, so obviesly the clutchplates and springs needed to be changed also. After dismounting the clutch we found a piece missing from the platelifter , it just lay under the clutch assembly and when we measured the plates they were allmost like new but the gaps in cluthc disks were full of black "stuff" so we figured that it has been slipping quite some time. The new platelifter arrived and we tried to install it but of course we broke it, just like the old one, luckily I know someone who knows how to weld aluminium, so after some welding and filing the clutch was ready. |
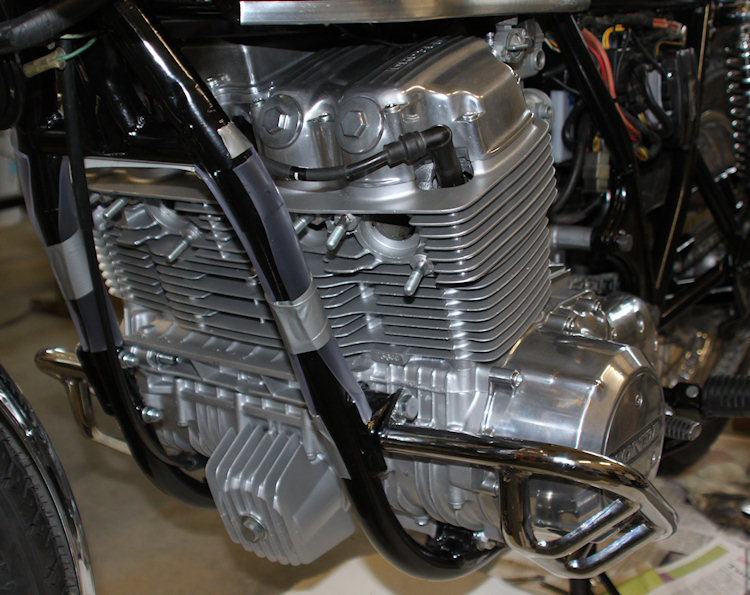
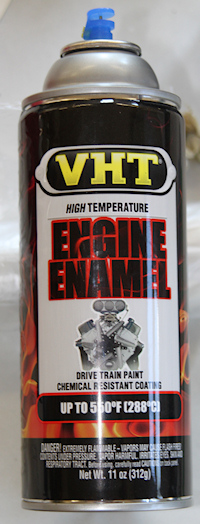
| I took the engine parts, crankcase, cylinder, cylinderhead and headcover to be sodablasted, never used soda before but after blasting I can only recommend , parts are like new. So the engine must be painted and Honda engine color is "Cloud Silver Metallic", NH-35M , PPG Paint Code 33778, but I found out that the best paint for this job is VHT Engine Enamel , SP127 Universal Aluminum, looks exactly like original and it is heat resistant to 550°F (288°C) and very easy to paint. I renewed also all engine bolts and screws, that sounds easy but there are "few" bolts.The oil drain bolt and threads were destroyed completely, the bolt was so loose that it can be removed by hand, so new bigger hole, new threads and new bolt, the bolt was not magnetic so I placed a strong magnet on the bolt, works fine. |
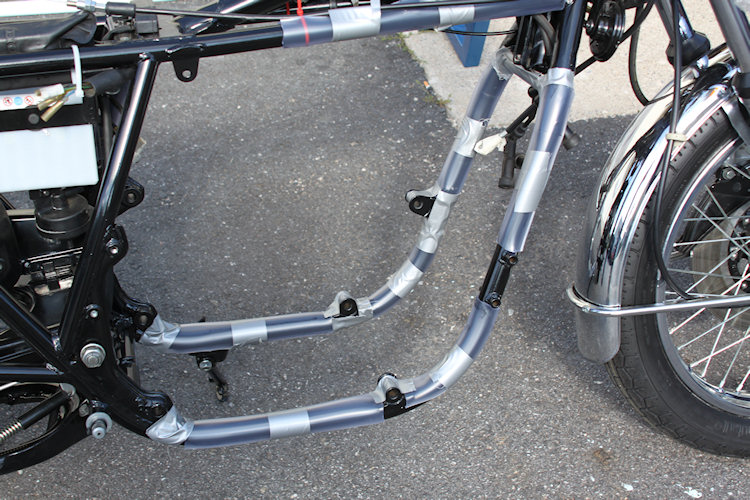
| Finally the engine was ready to be attached to the frame, I covered the frame with plastic tube , removed the exhaust pipe studs and after a "little" wrestling, the engine was in place. Of course we had to start it and it started nicely, a "little bit" loud without silencers. After that the exhaust pipes were mounted, the boxes were labelled a-b-c-d and we thought they ment 1-2-3-4, nope, nr. 1 and nr. 2 went well but nr. 3 didn't, it was actually nr. 4 (?). There were also small markings on each pipe: i-L/i-R and SL/SR= inner left/right and Side left/right which we found out later of course. |
| The final drive rear sprocket was the only thing in this bike that I thaught was OK, it looked like new (?) but when we ordered the front sprocket and new O-ring chain (88 links), after assembly the chain was too slack, we noticed that the rear sprocket was too small, only 36 teeth and it should be 41, well I had only one year to count those teeth, but... |